

In this Tutorial we would like to demonstrate how to make color changes to a 3D logo template purchased from pixellogo. We would also like to demonstrate how to change characteristics of some of the materials in the logo, like changing a chrome to black high gloss material with very simple few steps, Please follow instructions step by step its see how it works. These steps can be applied to many of our 3D logos that have chrome in the design. we hope you enjoy.
 Step 1: Open your Layer file, not the jpeg, make sure you open .psd extension (e.g.; 3D-logo.psd).
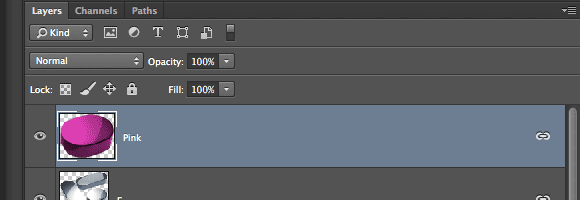 Step 2: Select the layer of the color in the design you would like to change.
 Step3: From the top menu select Image, Adjustment, Hue & Saturation, or for short cut, Command U. To change color, slide hue nob right or left to see different colors, once you are happy with the color, then you can adjust the saturation to get the right vibrance. You can experiment with different colours and values to your liking. Click ok to continue.
 Step 4: Select Another layer, if you have a chrome color and you want to make it a shiny black color for example.
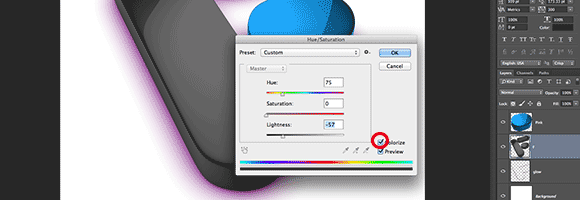 Step 5: To colorize the chrome first select “colorize”, put saturation value to zero, and lightness value to how dark you want the logo to look, in this case we have chosen as -57. Once you are happy with your choice click OK.
 Step 6: Changing the shadow or glow color, this is the same step as the Pink color, Select glow or shadow.
 Step 7: From the top menu select Image, Adjustment, Hue & Saturation or for short cut Command U. To change color use Hue and slide it right or left to see different hue values, once you are happy with the color, then you can adjust the saturation to get the right vibrance of the color. Click ok to continue. and thats all.
